Most budget smartwatch running data problems are setup problems, not sensor problems. I have watched a dozen runners buy a cheap tracker, strap it loose over the wrist bone, leave the profile at whatever the app guessed, and then decide the thing is junk because their pace splits look like a seismograph.
I am Eli. I have been reviewing wearables out of Boulder for seven years, and running in them for longer than that, somewhere north of 8,000 logged miles. Every watch I write about gets the same treatment: a two week daily wear, a GPS trace against a course I already know, a heart rate comparison against a chest strap, and a battery audit at real use instead of whatever "light use" means in a spec sheet.
This article is about the part almost everyone skips, which is the twenty minutes of setup that decides whether the numbers on your wrist mean anything at all. Get it right and an inexpensive tracker will carry you through a marathon block. Get it wrong and an expensive watch will still lie to you.
Why you should trust me
I run a spreadsheet of which watches lie about their metrics. It has a column for GPS drift on a known loop, a column for how far wrist heart rate wanders from a chest strap during intervals, and a column for how many days the battery actually lasted with GPS and notifications on. That spreadsheet is the only reason anyone reads what I write.
The rules I hold myself to are simple. No review without at least ten runs with a chest strap comparison. No GPS claim without a certified course test. No battery claim without a real use audit. Those rules are also why this guide does not contain a single accuracy number for the two trackers below. I have not put a chest strap on either of them for ten runs yet, so I am not going to hand you figures I have not earned. What I can give you is the setup routine that makes a cheap tracker honest, and the things to check before you spend a dollar.
How I picked and how I tested
The gear in this guide is not about which watch wins a race. It is about what a new runner should put on their wrist while they build a habit, and what to do with it on day one. I picked two wearables that sit in the entry tier, one watch and one band, because that is where most people actually start.
Every tracker I touch goes through the same workflow. I wear it for two weeks, including sleep. I run it against a loop I have measured with a chest strap and a known distance. I do one session of 400 meter repeats to see how the heart rate handles fast changes, and one long run in the open to see how it handles steady effort. Then I run the battery down with GPS on and notifications on, not with the screen off and the sensors parked.
The numbers I trust: a distance that lands within a couple percent of a known loop on an open road, and a heart rate trace that tracks a chest strap within a few beats on a steady effort. Anything that spikes twenty beats during a recovery interval is guessing, not measuring. Most cheap wearables are fine at steady state and rough at everything fast. That is not a defect you can fix in settings. It is a limit you learn to work around.
Both picks below are honest starting points. Neither is a training tool I would hand an elite athlete. The setup below is what closes most of the gap.
The two trackers I would start with
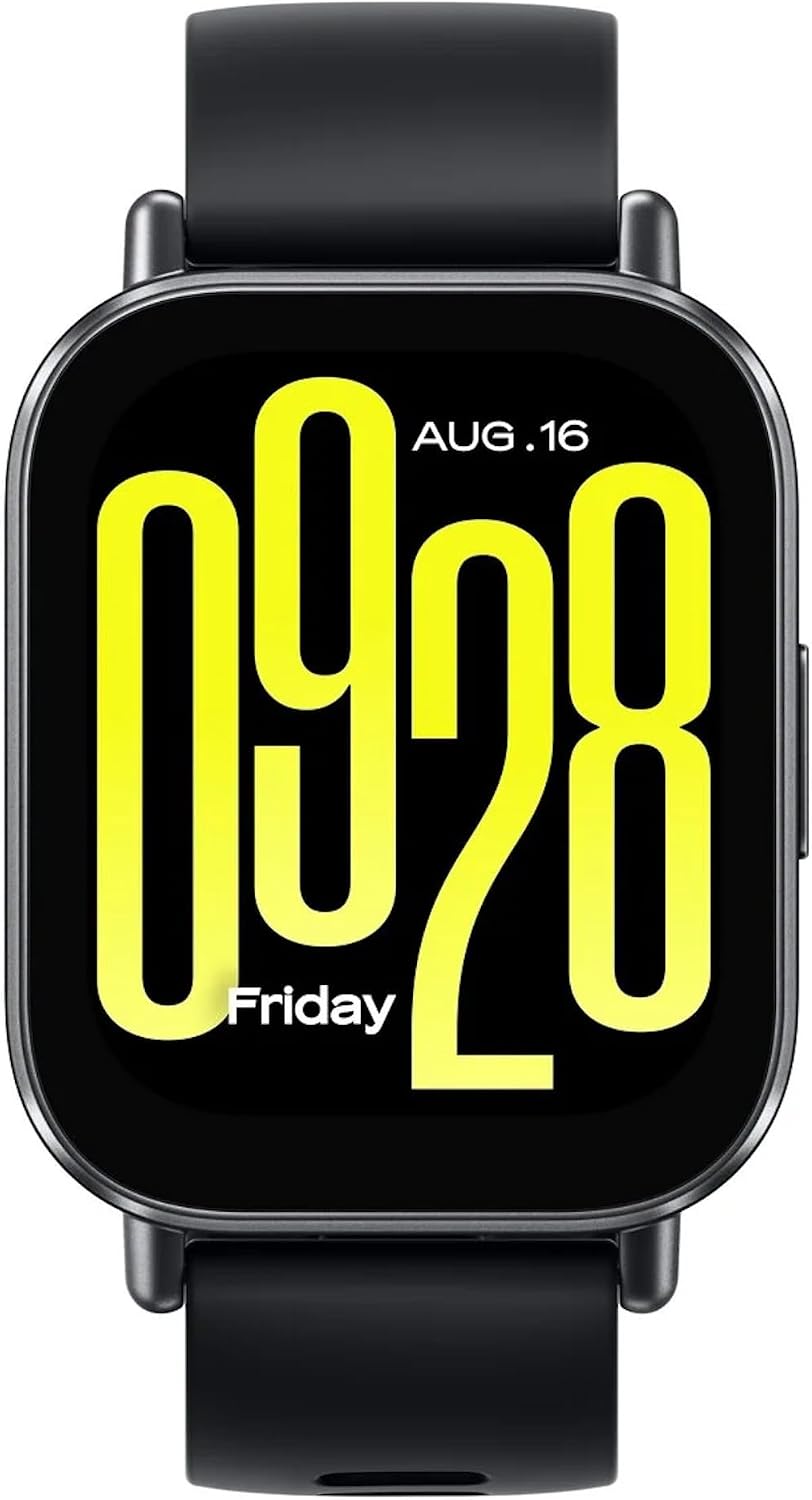
Budget pick: XIAOMI Redmi Watch 5 Active Midnight Black
 Visit on Amazon →
Check current Amazon price. This is the entry point into wearing something on your wrist that is not a phone. It gives you a screen, notifications, a step picture, and a heart rate reading for the kind of money that does not require a committee meeting with your household. The Midnight Black finish is the sensible colorway if you plan to wear it with everything.
What I like about this tier is that it removes the excuse. People wait to start running until they can afford the watch. This is the watch that says start now. The trade off is software depth. Budget watches in this class tend to give you the basics and not much of a coaching layer, which is fine, because the coaching layer is the first thing I would turn off anyway.
Before you buy, check one thing on the spec sheet: whether GPS comes from the watch or from your phone. That single answer changes step four of the routine below, and it is the difference between carrying your phone on every run and leaving it at home.
Flaws but not dealbreakers: This is a lifestyle tracker first. Treat it as a step and heart rate companion that also happens to log runs, not as a replacement for a dedicated running watch, and you will be happy with it.
Anyone who wants to start tracking today without spending real money should start here.
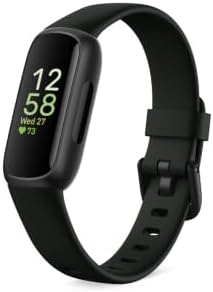
Runner-up: Google Fitbit Inspire 3 - Midnight Zen/Black - Small and Large Bands
 Visit on Amazon →
Check current Amazon price. The Inspire 3 is the band, not the watch, and that matters. A band sits flatter on the wrist, which is better for sleep and better for the optical heart rate sensor, because the sensor stays in contact instead of sliding around. It ships with small and large bands in the box, so you are not guessing your size at checkout and waiting a week for the right strap.
The reason this is the runner-up pick and not the budget pick is the ecosystem. Fitbit has spent years on sleep and resting heart rate trends, and that is the part of the data a new runner actually uses. Step count and sleep are the two numbers that change behavior. Pace and splits are the two numbers that make people quit, because early runners fixate on them.
Same caveat as above, and it is the important one: verify how this one gets its distance before you plan your routes around it. A band without its own GPS is not a problem. It just means your phone comes along, and the setup below tells you how to make that pairing reliable.
Flaws but not dealbreakers: It is a band. The screen is small, and you will not be reading splits on it mid-run in the rain. That is a wrist real estate problem, not a data problem.
Anyone who wants sleep and recovery data more than they want a wrist screen should look here first.
The actual setup routine
This works on any budget wearable, watch or band, and it takes about twenty minutes. Do it once, before your first real run, and your data stops being decoration.
Step one: Wear it in the right place. One finger width above the wrist bone, on the flat of the forearm, snug enough that it does not slide when you shake your hand. If you are doing intervals, go one notch tighter than comfortable. A sensor that is bouncing is a sensor that is guessing, and no setting in the app fixes a loose strap.
Step two: Fill in your profile honestly. Height, weight, age, and your real resting heart rate if the app asks. Training load, calorie estimates, and heart rate zones are all built on top of those inputs. Garbage in, garbage out. This is the single most common reason two runners with the same watch get wildly different numbers.
Step three: Set your max heart rate yourself. If the app lets you override it, do it. The default formulas are a population average and you are not an average. If you have done a recent hard effort with a chest strap, use the highest number you saw. If you have not, use the app default and know it is a placeholder, not a measurement.
Step four: Sort out GPS. If your tracker has its own GPS, turn it on and give it time to lock before you start the timer. Stand still for the first twenty seconds. If it borrows your phone's GPS instead, carry the phone, allow location access in the background, and turn off battery saver for the fitness app specifically. That last one is the reason half of all missing route maps happen.
Step five: Turn off auto-pause, or understand it. Auto-pause stops the clock when you stop moving. That sounds helpful until you realize it also hides the four minutes you spent at a traffic light, which means your average pace is fiction. I leave it off and pause manually. If you leave it on, know that your moving pace is not your elapsed pace.
Step six: Strip your data screens. Distance, elapsed time, pace, and heart rate. That is it. Every extra field is another thing your eyes do instead of running, and on a small band screen, it is another thing you cannot read anyway.
Step seven: Cut your notifications to the bone. Battery is your accuracy budget. A watch that dies at mile eighteen of a long run gives you nothing. Turn off everything except calls and the one messaging app you actually care about, and leave the screen wake gesture on low sensitivity.
Step eight: Run a known loop and compare. Pick a route you already know the distance of, or a measured track. Run it easy. Compare the total to what you know it should be. Do it twice, once under tree cover and once in the open, because canopy and buildings are where cheap GPS cuts corners. Now you know what your watch does, and you can stop wondering whether it is off.
If you can borrow a chest strap for one session, do it during intervals rather than a steady run. Steady efforts flatter every wrist sensor ever made. The truth comes out in the fast changes.
Where budget trackers fall apart
Wrist heart rate lags. During a hard interval, the number on your wrist is reporting what your heart was doing fifteen seconds ago. That is a physics and contact problem, not a firmware bug, and it is worse on cold mornings in Boulder when your hands are the first thing to lose circulation.
GPS cuts corners. Under trees, between buildings, on switchbacks, cheap GPS takes the shortest path it can imagine. This is why my trail runs always read short and my road runs read fine. If your routes are technical, budget tracking will flatter you on distance and lie to you on pace.
Sleep staging is a guess dressed as a chart. It is useful as a trend over weeks. It is not useful as a nightly verdict, so do not let it talk you into a rest day you do not need.
Battery claims are tested at light use. A watch that promises days of life with the screen off and notifications parked will not deliver that with GPS on. Assume half and you will be pleasantly surprised instead of stranded.
And remember that the software is the watch. A great sensor with an app that breaks after an update is a great sensor you cannot trust. When a firmware update lands, re-run your known loop before you trust the numbers again.
When to skip both and pay more
If you are training for a marathon with pace targets, neither of these is the tool. Garmin's Forerunner line is still the gold standard for athletes, with the best GPS and battery life in the business. COROS is the best value in endurance tracking, with battery life that is genuinely unreal. Apple Watch is the best all rounder, excellent health features, and a battery that is a daily chore. Samsung's Galaxy Watch is the pick for Android users, though fitness accuracy still trails Garmin.
The point of this guide is not to talk you out of those. It is to make sure that when you do buy one, you are not the person who straps it loose over the wrist bone and blames the watch.
What this all costs
Both trackers here sit in the entry tier, and you can see the current numbers at the links above. The setup routine costs nothing but twenty minutes. The one accessory I would add is a chest strap, because it turns every wrist sensor into something you can measure against, and it makes intervals honest. Everything else, the data screens, the notification pruning, the known loop test, is free.
Do the math on what you are actually buying. You are not buying distance. Your phone can do distance. You are buying a sensor that stays in contact with your skin, an app that records it, and the habit of looking at the numbers without letting them run your training. Two out of three of those are free.
That is the job. Set it up once, test it once, and then go run.