Most watches leave the factory set up for a showroom, not for a runner. The defaults favor bright screens, constant notifications, and aggressive power saving that quietly degrades the sensor data you bought the watch for. Pair it, wear it, and trust it without touching anything, and you will eventually get burned by a run that shows up short on the map or a heart rate graph that looks like a seismograph.
I have logged more than 8,000 miles with a watch on my wrist since 2019, most of it on the roads and trails around Boulder, Colorado, plus a few hundred treadmill miles when the snow wins. The routine below is the same one I run on every watch before it goes out for a long run. It takes about 20 minutes, and it is the difference between a device that tracks your training and one that decorates your wrist.
If you want the short version: set up a smartwatch for running by entering your body data correctly, giving the GPS permission to do its job, fixing your heart rate zones, cutting the notifications, and then testing the whole thing once against something you trust.
Why you should trust me
I am a marathon runner who reviews wearables, not a lab technician. Every watch that comes through my door gets the same treatment: a two-week daily wear, a GPS accuracy pass against a certified course, a wrist heart rate check against a chest strap on both intervals and easy runs, and a battery audit with GPS and notifications left on. I keep a spreadsheet of which watches lie about their metrics, and the column that fills up fastest is battery life at real use.
That routine shapes everything below. If a setting does not change the accuracy of the data or the length of the battery, it does not make the list.
The two watches I would set up this way
These setup steps work on almost any modern wearable. The two devices below are the ones I would start with, one for people who want an inexpensive daily movement tracker and one for people who want a complete training and health device.
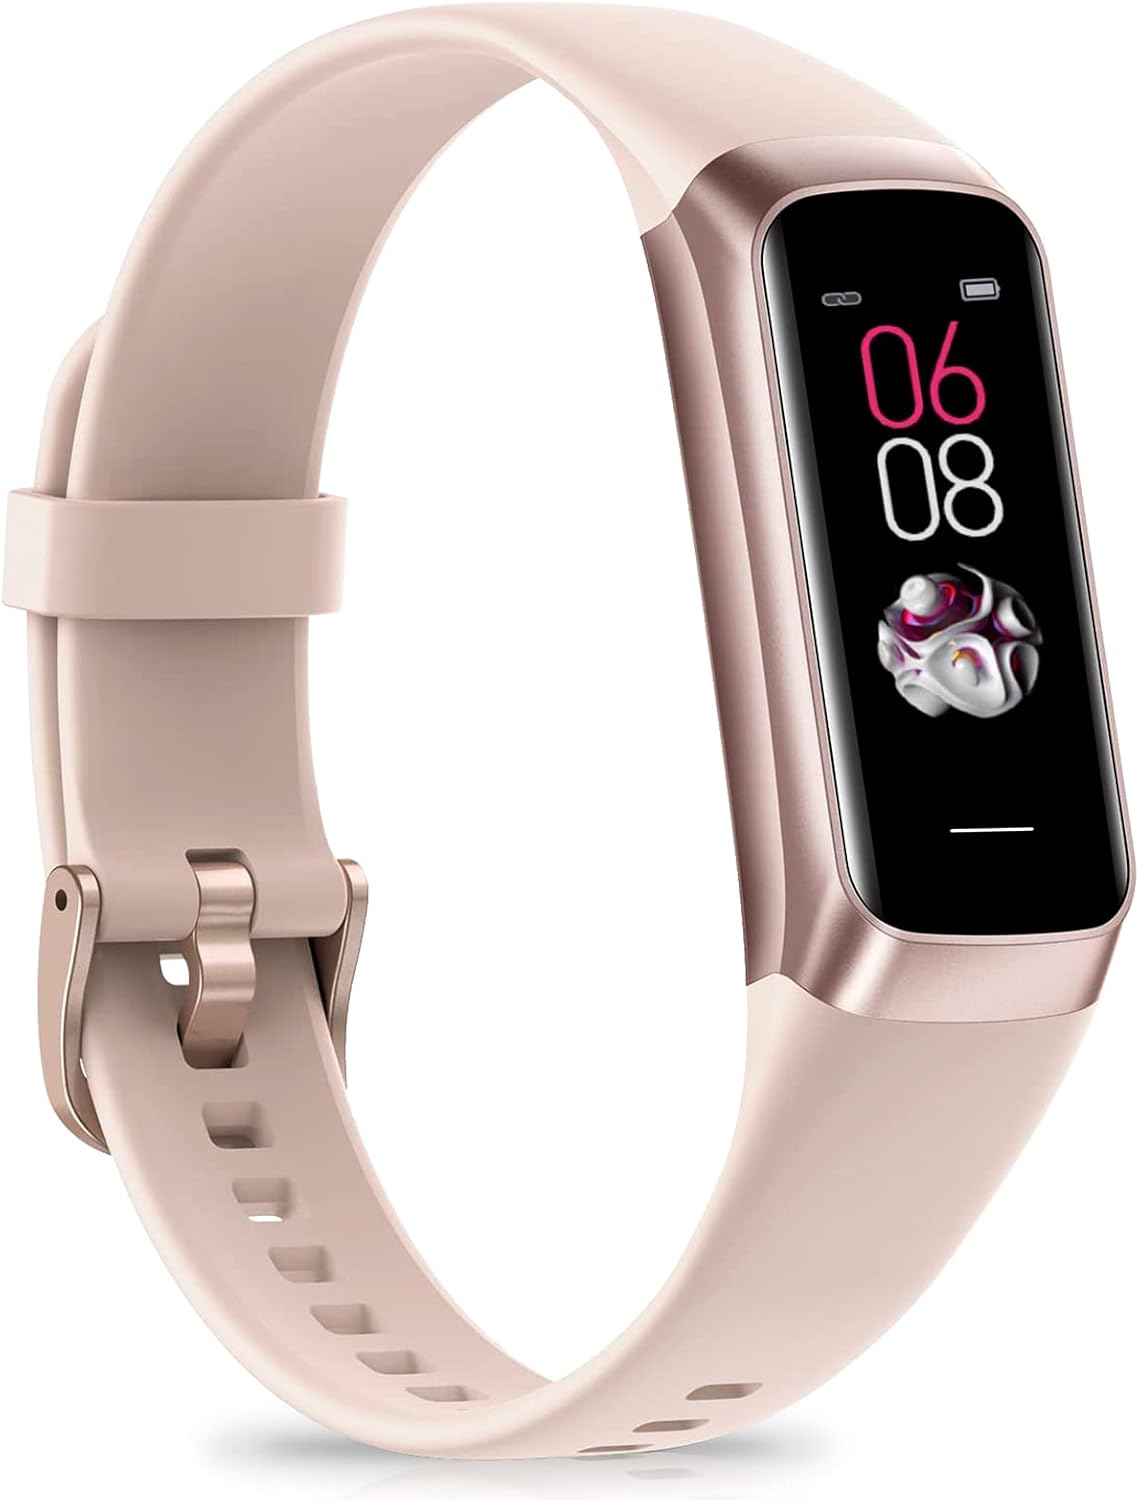
Budget pick: Fitness Tracker with 24/7 Heart Rate, Activity Trackers with Blood Pressure Sleep Monitor, 1.10" AMOLED Screen Step Tracker, Waterproof Step Counter, Health Smart Watch Pedometer for Women Men
 Visit on Amazon →
Check current Amazon price. This is the entry point: a 1.10-inch AMOLED screen, 24/7 heart rate, sleep monitoring, blood pressure readings, step counting, and a waterproof body for a fraction of what a flagship watch costs.
Here is the honest framing. A band at this level is a movement tracker and a sleep tracker first, and a training tool second. The step counting and the sleep windows are genuinely useful, and the AMOLED screen stays readable outdoors in Boulder sun. The blood pressure number is not a medical measurement and should never be treated as one. Wrist optical sensors cannot do what a cuff does, no matter what the product listing implies.
Heart rate is decent at a steady pace and unreliable during hard intervals, which is true of every wrist sensor and more true of a budget one. If your goal is "am I moving enough and sleeping enough," this does the job and does it cheaply.
Flaws but not dealbreakers: The companion app is the weak point on most trackers at this price. Expect occasional syncing quirks and a notification mirror that shows you the message but not much else.
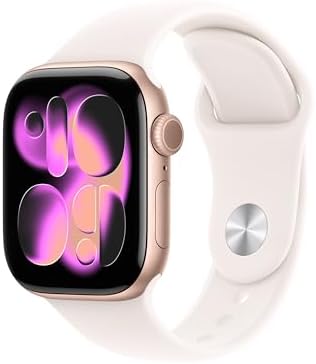
Our pick: Apple Watch Series 11 [GPS 42mm] Smartwatch with Rose Gold Aluminum Case with Light Blush Sport Band - S/M. Sleep Score, Fitness Tracker, Health Monitoring, Always-On Display, Water Resistant
 Visit on Amazon →
Check current Amazon price. This is the best all-rounder I recommend to most people. The health monitoring and sleep score are excellent, the always-on display means you can glance at pace without lifting your wrist, and it is water resistant enough for pool sessions and rainy runs. The 42mm rose gold aluminum case with the light blush sport band is the size I would pick for a smaller wrist, or for anyone who wears the watch to bed for sleep tracking.
The tradeoff is the one every owner of this line knows. Battery life is a daily chore. You will charge it every night, which means sleep tracking requires a top-up before bed or a charge during your morning shower. Plan for it and it is a non-issue. Ignore it and you will be standing at the trailhead with a dead watch on the one morning that mattered.
Flaws but not dealbreakers: If you are a multi-day ultra runner who needs GPS running for 20 hours straight, this is not that watch. For daily training and health tracking, it is the most complete package you can put on your wrist.
The actual setup workflow
This works on any watch. Do it once, then leave it alone unless you change phones or the software moves things around.
Step one: Pair, then update. Before you change a single setting, let the watch finish its first software update. Bugs get fixed and menus get rearranged between versions, so setting up on old firmware means doing the work twice.
Step two: Enter your body data honestly. Age, weight, height, and sex. Every calorie estimate, heart rate zone, and training load number is calculated from these inputs. If you shave 10 pounds off your weight because you do not like the number, you are just feeding the algorithm bad data. Garbage in, garbage out.
Step three: Set your heart rate zones. Most watches default to the old 220-minus-age formula, which is wrong for a large chunk of the population. If you have a tested max heart rate, enter it manually. If you do not, get one from a field test or a lactate threshold test. Zones built on a wrong max are wrong for every workout that follows.
Step four: Give the GPS permission to work. This is the step people skip and then complain about. Set location access to always for the watch app and the workout app, and turn on precise location. Some watches also hide a separate GPS accuracy setting inside the workout menu, and it defaults to a power-saving mode that samples less often. Turn that off. A GPS trace that cuts corners on a wooded trail is usually a sampling problem, not a hardware problem.
Step five: Wait for the GPS lock before you press start. This is a habit, not a setting. Step outside, open the workout app, and wait until the watch confirms a signal. Starting the clock inside your house means the first quarter mile is drawn by guesswork, and that error follows you for the rest of the run.
Step six: Cut the notifications. Every buzz costs battery and attention. Keep calls, texts from actual humans, and your calendar. Turn off everything else: social, shopping, news, and the endless stream of app alerts. This is the single biggest battery win and the single biggest focus win, and it costs you nothing you will miss.
Step seven: Decide on the always-on display. Always-on is genuinely useful for checking pace mid-run. It also eats battery. My compromise is to leave it on for daily wear and turn it off for long runs, or use theater mode on race day. If your watch has raise-to-wake instead, that is the middle ground.
Step eight: Tune the battery settings. Turn off background app refresh for apps you do not use. Turn off continuous blood oxygen or stress tracking if your watch offers it and you never read the numbers. Then set a charging routine that matches your life, so the watch is full when you walk out the door, not sitting at 40 percent.
Step nine: Test the auto-detection. If your watch has automatic workout detection, do a short walk or jog without starting the app and see what it records. If it misses the start, turn the feature off and start workouts manually. A workout that begins four minutes late is a workout with bad data.
How to check that your setup actually works
A setup you have not tested is a setup you cannot trust. Three checks, all of them free.
GPS check. Run a route you know the exact distance of, ideally a measured mile, a track, or a certified 5K course. Compare the watch distance to the real number. Anything inside one percent is fine. Anything over three percent means you have a permission or sampling problem, and it is worth going back to step four.
Heart rate check. If you own a chest strap, wear both for one interval session and compare the graphs afterward. A wrist sensor that lags 10 to 20 seconds behind the strap on hard efforts is normal and expected. A wrist sensor that reads 200 while you are jogging easy is not normal, and it usually means the band is too loose, too tight, or sitting directly over your wrist bone.
Battery audit. Charge to full, run one hour with GPS on, and note the percentage drop. That number is your real battery life, not the one on the box. Do the same run twice if you want to see how much the always-on display is costing you.
When the numbers look wrong
Cold weather, tattoos, and hairy wrists all degrade optical heart rate, and there is nothing in a settings menu that fixes any of them. Move the watch a finger width up your forearm, tighten it one notch before hard efforts, and loosen it again afterward.
If a software update breaks a feature that used to work, do not assume the hardware failed. Restart the watch, then check the app permissions again, because updates love to reset location access to "while using." If the problem survives a restart, unpair and repair before you call support.
What this all costs
The tracker and the Apple Watch sit at opposite ends of the market, so check current Amazon price on each before you decide which one fits your training. The setup itself costs nothing and takes about 20 minutes, and it is the only part of this article that applies no matter which watch you end up buying.
The short version
Set your body data correctly, fix your heart rate zones, grant GPS permission with precise location and no power saving, cut the notifications down to the people who matter, decide deliberately about the always-on display, and then test the watch once against a course and a chest strap you trust. That is the whole job.
A watch is only as honest as the settings you gave it. Twenty minutes today buys you months of data you can actually use, and it means the next time a run looks wrong, you will know whether to blame the watch or the trail.